


Linux has been around since 1991 when Linus Torvalds released the first Linux kernel as the basis for the GNU operating system. It became the free replacement for UNIX, providing basic services for applications, such as process management, memory management, and file systems.
As a system and network administrator, I rely on Linux as an invaluable tool for improving my UNIX and networking skills. Linux is a robust, open-source operating system that can be customized to my needs. Additionally, Linux can transform obsolete machines into useful computer terminals, servers, and routers.
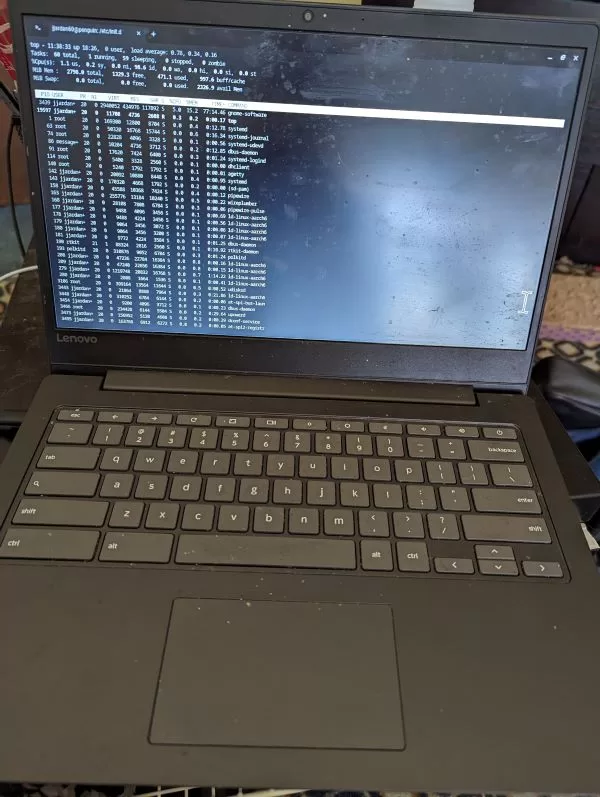
In this article, I’m using a low-end Lenovo Chromebook to demonstrate how to install Linux on a Chromebook. The Chromebook has the following specifications: a Media Tek mt8173 processor, 4 GB of memory, and a 32 GB solid-state drive (SSD).


Getting Started with Linux
Linux is a popular operating system that is easy to learn, and Chromebooks are a great way to learn it. Chromebooks run ChromeOS, which is a Linux-based operating system, and they include a number of Linux tools that make it easy to get started.
It’s easy to set up Linux, aka Crostini, on ChromeOS. First, go to Settings, expand the “Advanced” menu and go to “Developers”. Then “Turn on” Linux: 1: Enable Linux from Chrome settings.
Installing and Using Apache HTTP Server with Crostini
Apache is a free and open-source HTTP server used on approximately 25% of the busiest websites. easily installed on Crostini, this is a great tool for creating web based applications and web pages.
| sudo apt install apache2 | Install apache2 on your chromebook |
| sudo /etc/init.d/apache2 start | Start the Apache server also stop or restart can be substituted for start |
| ps -aef | grep apache2 | search running processes for apache2 |
After installation, open your browser to http://penguin.linux.test and you will see the Apache2 Debian Default Page which contain important information about your webserver configuration.

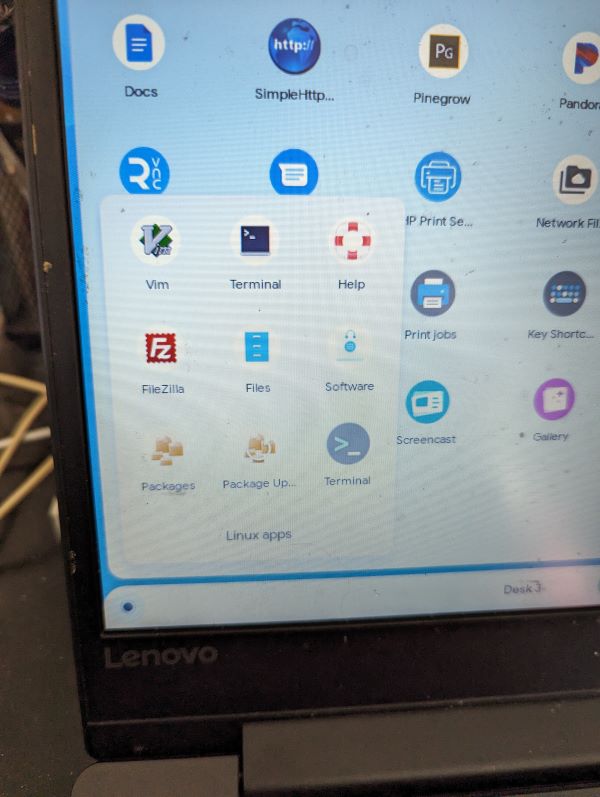
After enabling Crostini, you wil find a folder in your Launcher name Linux apps which may include desktop Terminals, Files, and more Linux apps.
The terminal is the most important tool included with Crostini. It provides a command-line interface to the operating system, allowing the user to interact with the system and execute commands. The terminal and the commands listed below are included in all versions of Linux and UNIX.
Useful Terminal Commands
| Command | Description | notes |
|---|---|---|
| sudo apt-get update | The first command on your terminal should be sudo apt-get update to update your system with the latest patches, wait till finished, its quick! | |
| ⬆️ (up arrow) | the up arrow button recalls previously entered commands | |
| ctrl c | end command, or stop program | |
| sudo | allows user to execute a command as a “superuser”. you probably should not use this casually | |
| apt | command line interface for package management system. you can add new programs and functions to your computer with these packages example “apt list –installed” will list installed packages, you will see some familiar entries such as usb, vim, etc. | |
| man | manual pages for commends. example: man ls -manual page for ls command, space bar = next page, press q to quit | man -k keyword : search man for a keyword |
| ls | list directory contents | ls -l :list files and directories in a table form including file permissions, file owner, file date, file name. ls -a : shows all files including hidden files. |
| pwd | “present working directory”, print name of current/working directory. note your personal home directory will be /home/yourname | |
| cd | change directory example: cd ~ will open your home directory “/home/yourname”. cd / will open the root directory which is “/” | |
| mkdir | make directory | |
| vi, vim | vi is a screen-oriented text editor originally created for the Unix operating system, vim = “vi improved” version. example: | vi test.txt – create/edit test.txt file. press “i” to inset and start writing, press esc and then :wq to write quit or q! to quit without saving. esc toggles between writing mode and command mode |
| clear | clears terminal screen | |
| whoami | displays your username | |
| top | displays Linux processes, type “q” to quit |
vi Editor Howto
The vi or vim editor is a powerful tool for editing files, writing programs and scripts.
Lets jump in and write a simple file adn create a sub directory in your home directory (commands are in italic)
first, lets check our directory
| yourusername@peguin:~$ | (command line prompt) |
| yourusername@peguin:~$ pwd | (“present working directory”?) |
| yourusername@peguin:~$ /home/yourusername | (your home directory, if not, type cd ~ which will change directory to your home |
| yourusername@peguin:~$mkdir myfiles | Lets make a directory to store our files named “myfiles” |
| yourusername@peguin:~$cd myfiles | lets change our working directory to myfiles |
| yourusername@peguin:~/myfiles$pwd | Lets check where are but you will notice that your command prompt now includes your home directory “~” + /myfiles (you can also use the up arrow key to recall the previous pwd command) |
| yourusername@peguin:~/myfiles$ /home/yourusername/myfiles | The present working directory is listed |
| yourusername@peguin:~/myfiles$vi mytext.txt | Here we go with the vi command creating a new file named “mytext.txt” |
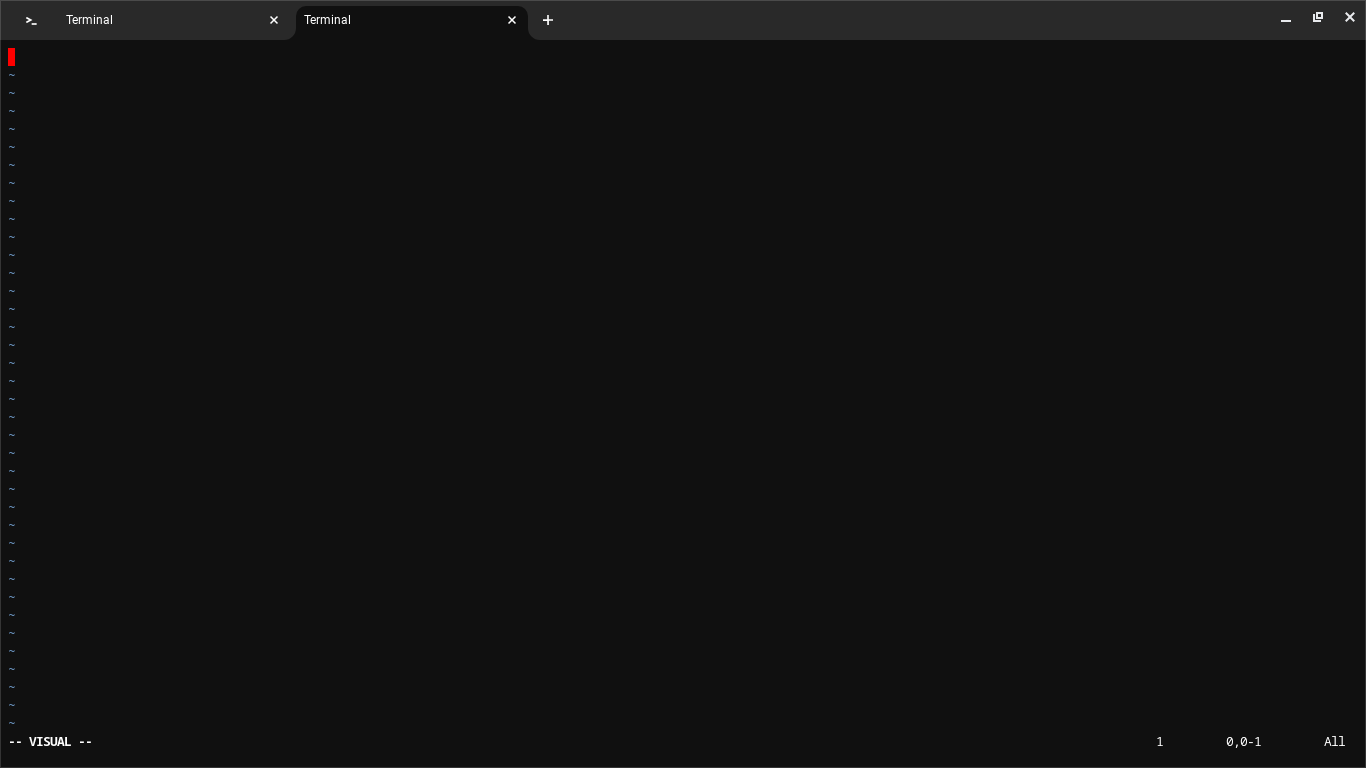
Now you are in the editor screen for vi. You can’t type anything yet because you are in normal mode. You have to press the insert command first, which is the “i” key. Once you press “i,” you can start typing. You’ll see the INSERT indicator replace the VISUAL at the bottom left.
OK, so you edited your mytext.txt file. Now let’s save it and get out of here. First, press the esc key to exit insert mode. Next, press the semicolon key : to bring up the command line prompt. Type wq to write and quit the file. Hit enter to go back to the terminal. Congrats! You just created and saved a file using the vi editor.
Lets have a look in our directory and notice that your new file exists
| yourusername@peguin:~/myfiles$ls | type ls at the command line prompt |
| mytext.txt | your new file will be displayed |
| yourusername@peguin:~/myfiles$more mytext.txt | lets use the more command which will display the contents of your file. press q to quit |
And thats it! you now know about vi editor which is common to all versions of Linux and UNIX :0

Add New Functions to Your Terminal with apt!
Lets add the command whois to your terminal. whois is s client to the whois directory service. first we will use the apt command to install.
| sudo apt-get install whois | type this command into the terminal and press enter |
| whois facebook.com | After installation is complete, lets take it for spin by looking up the directory listing for facebook.com |