In my younger years, I was obsessed with science fiction. I loved science fiction books, TV series, and movies. I read voraciously, watched every science fiction movie I could find. I still love science fiction today, and this list is a tribute to my favorites, new and classic.
Thunderbirds (1964 – 1966)
I have a penchant for all of Gerry Anderson’s productions, but as a preschooler I was especially fond of “Thunderbirds.” Even at that tender age, I was fascinated by the technology in the series, which appeared straightforward enough to recreate at home. The premise of the series revolves around the clandestine “International Rescue” Team, which consists of the former astronaut and industrialist Jeff Tracey and his five sons. The team operates out of a hidden base in the South Pacific. Each episode showcases a remarkable rescue mission accomplished with state-of-the-art equipment and vehicles.
You can stream the original Thunderbird series and the 2015 CGI version “Thunderbirds are Go” on Amazon Prime

Lost in Space is a science fiction series that begins with the Robinson family’s earnest journey to Alpha Centauri. The family is joined by an unintentional stowaway and saboteur, Dr. Smith, who compromises their spaceship, destabilizing it and sending it off course. The series follows the Robinsons as they try to survive in space and continue their mission.
Space 1999 (1975 -1977)
The Expanse (2015-2022)
Probably the best sci-fi show of millenium so far and maybe the most scientifically accurate. Humanity has colonized Mars and “The Belt” aka the asteroid belt
Farscape (1999 – 2003)
“Muppets in Space” it is not, although it is a product of Jim Henson Productions.
Babylon 5 (1993 – 1998)
World-building sci-fi epic by J. Michael Straczynski and Harlan Ellison
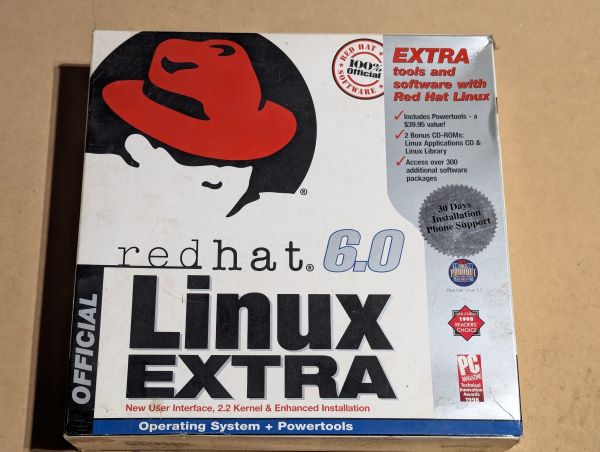
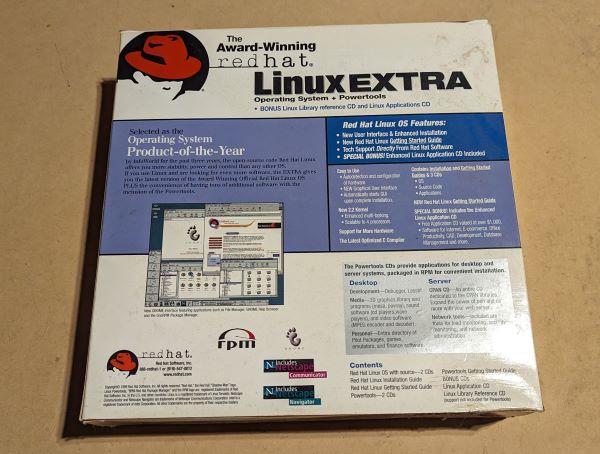
Linux has been around since 1991 when Linus Torvalds released the first Linux kernel as the basis for the GNU operating system. It became the free replacement for UNIX, providing basic services for applications, such as process management, memory management, and file systems.
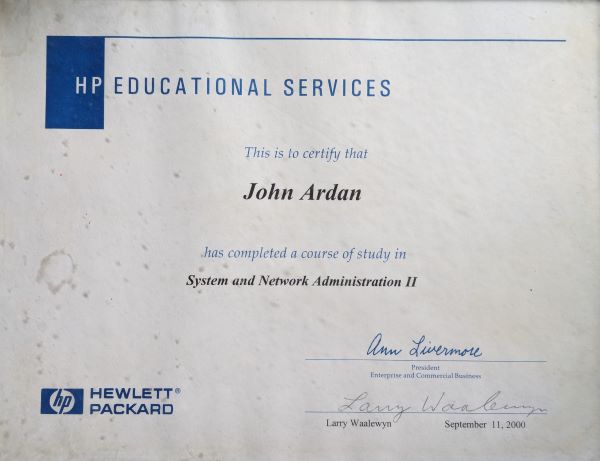
As a system and network administrator, I rely on Linux as an invaluable tool for improving my UNIX and networking skills. Linux is a robust, open-source operating system that can be customized to my needs. Additionally, Linux can transform obsolete machines into useful computer terminals, servers, and routers.
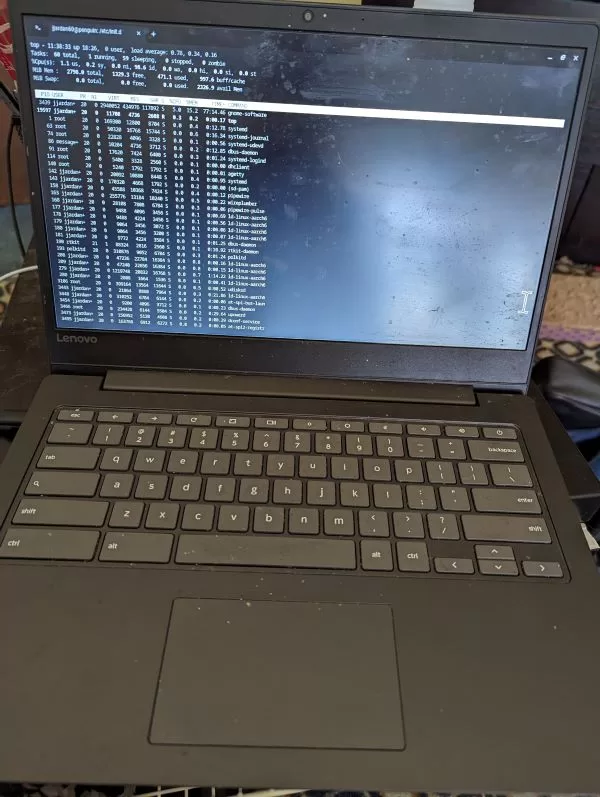
In this article, I’m using a low-end Lenovo Chromebook to demonstrate how to install Linux on a Chromebook. The Chromebook has the following specifications: a Media Tek mt8173 processor, 4 GB of memory, and a 32 GB solid-state drive (SSD).
Getting Started with Linux
Linux is a popular operating system that is easy to learn, and Chromebooks are a great way to learn it. Chromebooks run ChromeOS, which is a Linux-based operating system, and they include a number of Linux tools that make it easy to get started.
It’s easy to set up Linux, aka Crostini, on ChromeOS. First, go to Settings, expand the “Advanced” menu and go to “Developers”. Then “Turn on” Linux: 1: Enable Linux from Chrome settings.
Installing and Using Apache HTTP Server with Crostini
Apache is a free and open-source HTTP server used on approximately 25% of the busiest websites. easily installed on Crostini, this is a great tool for creating web based applications and web pages.
sudo apt install apache2
Install apache2 on your chromebook
sudo /etc/init.d/apache2 start
Start the Apache server also stop or restart can be substituted for start
ps -aef | grep apache2
search running processes for apache2
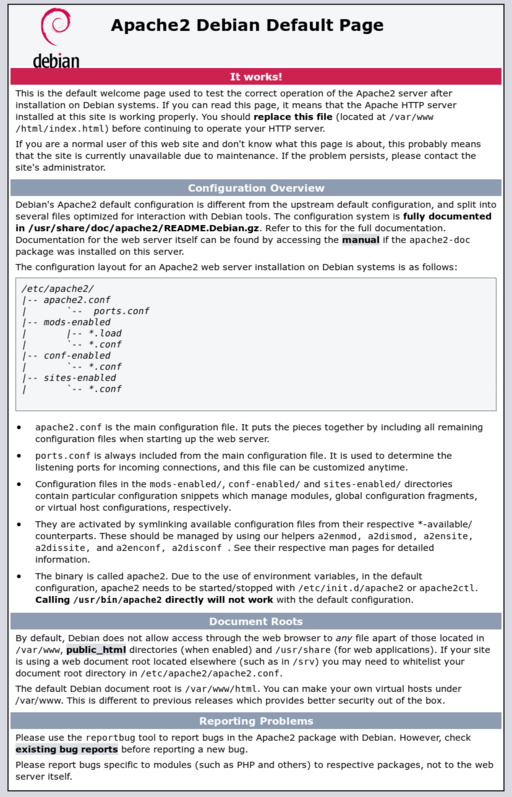
After installation, open your browser to http://penguin.linux.test and you will see the Apache2 Debian Default Page which contain important information about your webserver configuration.
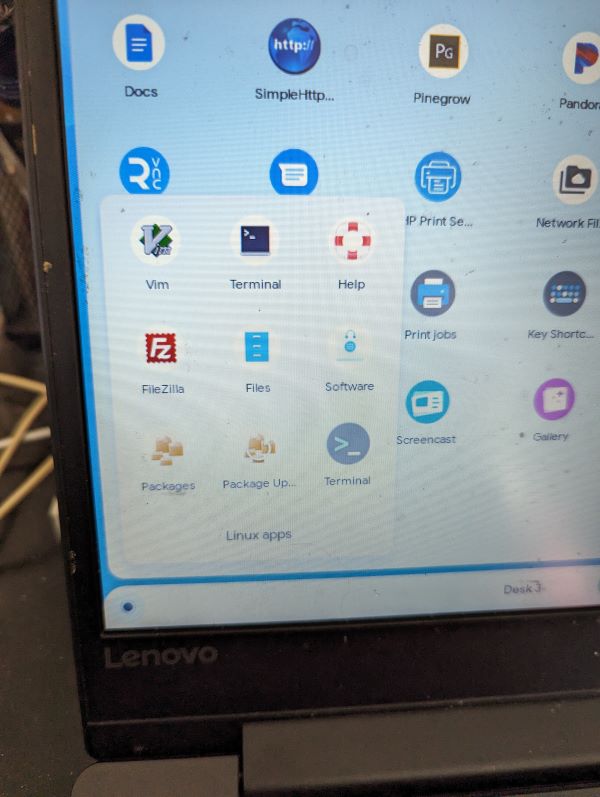
After enabling Crostini, you wil find a folder in your Launcher name Linux apps which may include desktop Terminals, Files, and more Linux apps.
The terminal is the most important tool included with Crostini. It provides a command-line interface to the operating system, allowing the user to interact with the system and execute commands. The terminal and the commands listed below are included in all versions of Linux and UNIX.
Useful Terminal Commands
Command
Description
notes
sudo apt-get update
The first command on your terminal should be sudo apt-get update to update your system with the latest patches, wait till finished, its quick!
⬆️ (up arrow)
the up arrow button recalls previously entered commands
ctrl c
end command, or stop program
sudo
allows user to execute a command as a “superuser”. you probably should not use this casually
apt
command line interface for package management system. you can add new programs and functions to your computer with these packages example “apt list –installed” will list installed packages, you will see some familiar entries such as usb, vim, etc.
man
manual pages for commends. example: man ls -manual page for ls command, space bar = next page, press q to quit
man -kkeyword : search man for a keyword
ls
list directory contents
ls -l :list files and directories in a table form including file permissions, file owner, file date, file name. ls -a : shows all files including hidden files.
pwd
“present working directory”, print name of current/working directory. note your personal home directory will be /home/yourname
cd
change directory example: cd ~ will open your home directory “/home/yourname”. cd / will open the root directory which is “/”
mkdir
make directory
vi, vim
vi is a screen-oriented text editor originally created for the Unix operating system, vim = “vi improved” version. example:
vi test.txt – create/edit test.txt file. press “i” to inset and start writing, press esc and then :wq to write quit or q! to quit without saving. esc toggles between writing mode and command mode
clear
clears terminal screen
whoami
displays your username
top
displays Linux processes, type “q” to quit
vi Editor Howto
The vi or vim editor is a powerful tool for editing files, writing programs and scripts.
Lets jump in and write a simple file adn create a sub directory in your home directory (commands are in italic)
first, lets check our directory
yourusername@peguin:~$
(command line prompt)
yourusername@peguin:~$ pwd
(“present working directory”?)
yourusername@peguin:~$ /home/yourusername
(your home directory, if not, type cd ~ which will change directory to your home
yourusername@peguin:~$mkdir myfiles
Lets make a directory to store our files named “myfiles”
yourusername@peguin:~$cd myfiles
lets change our working directory to myfiles
yourusername@peguin:~/myfiles$pwd
Lets check where are but you will notice that your command prompt now includes your home directory “~” + /myfiles (you can also use the up arrow key to recall the previous pwd command)
Here we go with the vi command creating a new file named “mytext.txt”
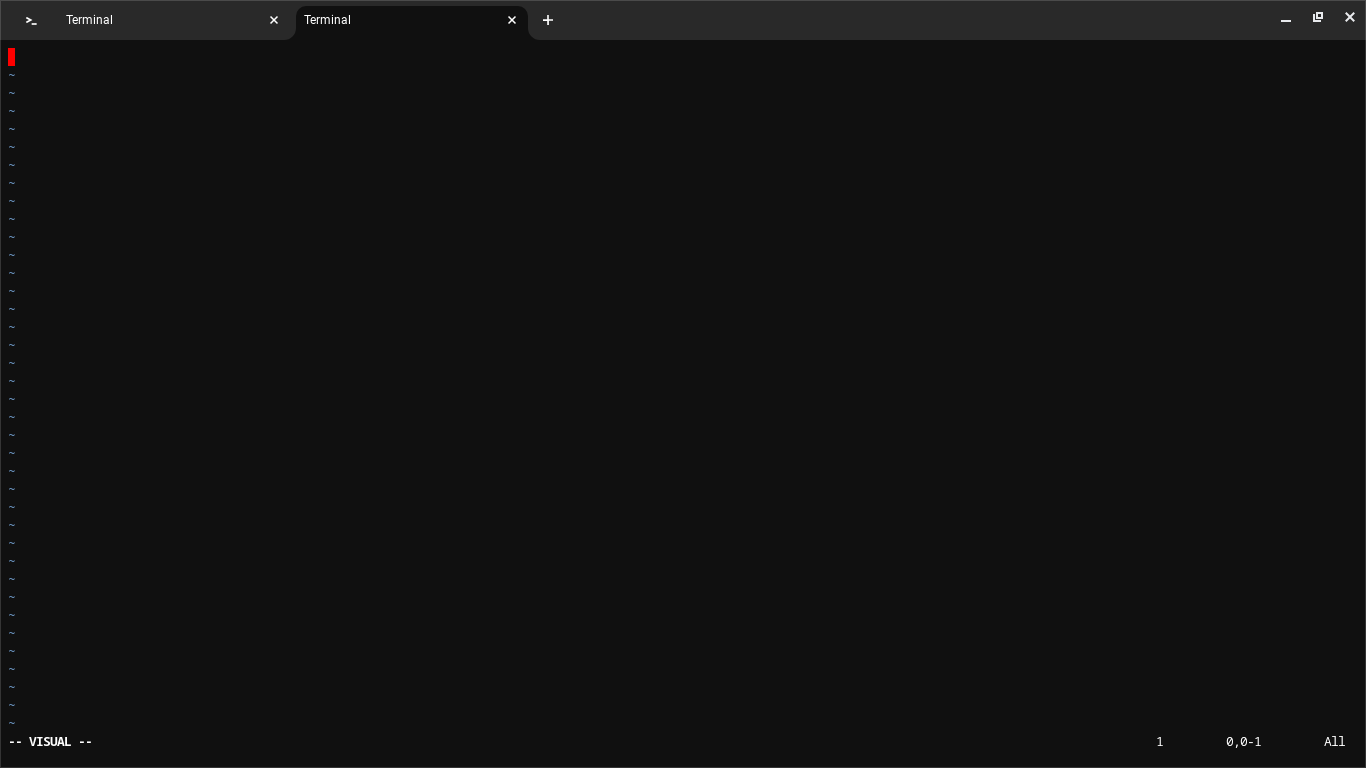
Now you are in the editor screen for vi. You can’t type anything yet because you are in normal mode. You have to press the insert command first, which is the “i” key. Once you press “i,” you can start typing. You’ll see the INSERT indicator replace the VISUAL at the bottom left.
OK, so you edited your mytext.txt file. Now let’s save it and get out of here. First, press the esc key to exit insert mode. Next, press the semicolon key : to bring up the command line prompt. Type wq to write and quit the file. Hit enter to go back to the terminal. Congrats! You just created and saved a file using the vi editor.
Lets have a look in our directory and notice that your new file exists
yourusername@peguin:~/myfiles$ls
type ls at the command line prompt
mytext.txt
your new file will be displayed
yourusername@peguin:~/myfiles$more mytext.txt
lets use the more command which will display the contents of your file. press q to quit
And thats it! you now know about vi editor which is common to all versions of Linux and UNIX :0
Add New Functions to Your Terminal with apt!
Lets add the command whois to your terminal. whois is s client to the whois directory service. first we will use the apt command to install.
sudo apt-get install whois
type this command into the terminal and press enter
whois facebook.com
After installation is complete, lets take it for spin by looking up the directory listing for facebook.com
Surviving 2 weeks in the cold lunar night temperatures, SLIM spacecraft phones home!
On February 25, 2024, communication was reestablished with the JAXA SLIM demonstration moon lander following a 14-day lunar night. The spacecraft was not expected to survive the nighttime temperatures on the lunar surface, which can reach -280° F. The spacecraft was powered down again shortly thereafter to protect its electronic components from the intense heat of the lunar day.
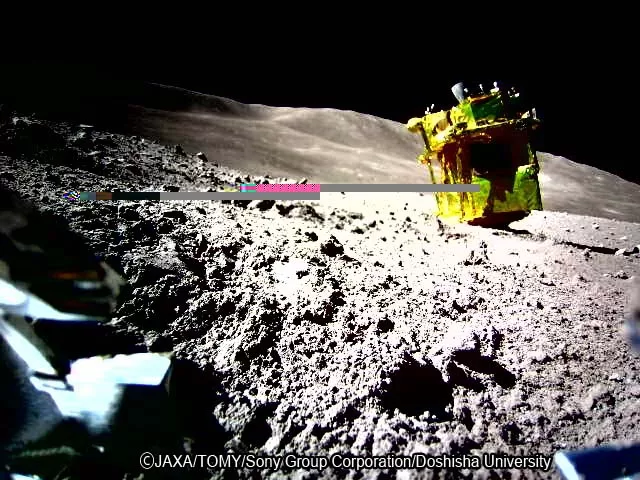
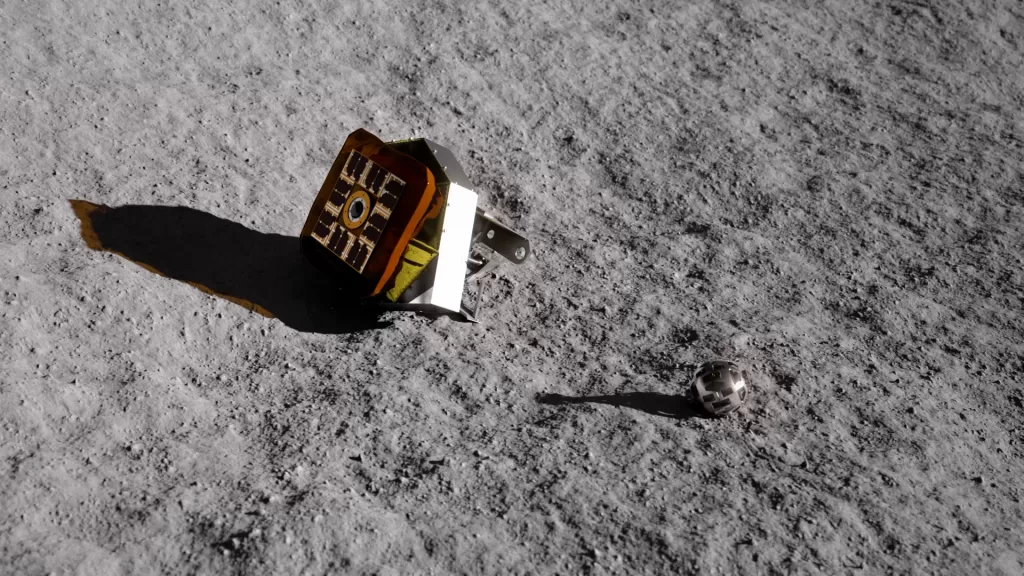
The JAXA SLIM (Smart Lander for Investigating Moon) was launched on September 7, 2023, and successfully landed on the lunar surface on January 20, 2024. Regrettably, the spacecraft landed upside down, and its solar panels were unable to capture sufficient sunlight, leading to a shutdown approximately two hours after touchdown. It is believed that a malfunction of one of the two engines during obstacle avoidance caused lateral velocity and attitude to deviate from the design range, resulting in the inverted landing. Following a nine-day suspension of activity, the lander received adequate sunlight to resume operations and began transmitting images of the lunar surface.
The SLIM lunar lander successfully deployed a transformable lunar robot (LEV-1) executed leaping movements and “inter-robot” communications with transformable lunar robot (LEV-2)
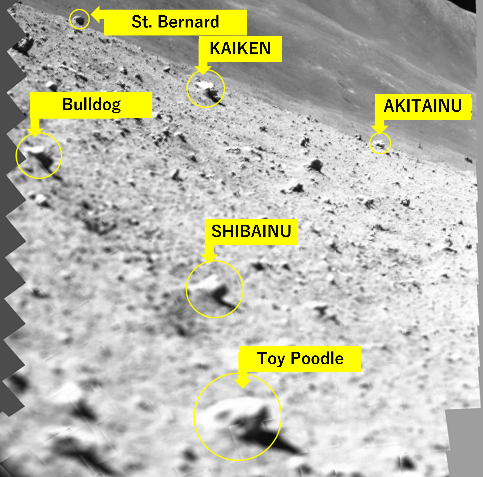
Photos were taken with a Multi-Band Camera (MBC) using a mirror to generate 257 low-resolution images combined to generate this image. After landing and before power was interrupted, the MBC released a lock protecting the insinstrument during liftoff and landing.
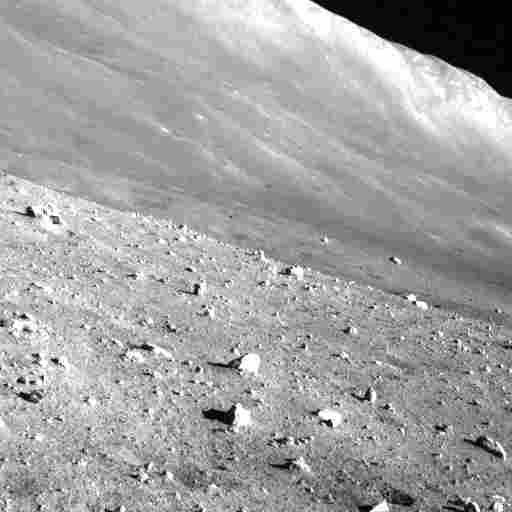
On March 27, 2024, the Japan Aerospace Exploration Agency (JAXA) confirmed that the SLIM lunar lander had survived another lunar night. The lander returned an image from its navigation camera, which showed that it was still in one piece. However, JAXA reported that some temperature sensors and battery cells were beginning to malfunction due to the high temperatures on the moon.